


Introduction:
Navigating through Android apps is a crucial aspect of user experience. In this blog post, we'll dive into the world of Navigation Component and explore how it simplifies the navigation process in Android app development.
Section 1: Understanding Kotlin Navigation Component:
Kotlin Navigation Component is a part of the Android Jetpack library that provides a framework for navigating between different parts of your app. It simplifies the implementation of navigation and ensures a consistent and predictable user experience.
Section 2: Setting Up Kotlin Navigation Component:
To get started, add the following dependencies to your build.gradle file:
implementation "androidx.navigation:navigation-fragment-ktx:2.4.0"
implementation "androidx.navigation:navigation-ui-ktx:2.4.0"
Now, configure the navigation component in your MainActivity:
class MainActivity : AppCompatActivity() {
    private lateinit var navController: NavController

    override fun onCreate(savedInstanceState: Bundle?) {
        super.onCreate(savedInstanceState)
        setContentView(R.layout.activity_main)

        val navHostFragment =
            supportFragmentManager.findFragmentById(R.id.nav_host_fragment) as NavHostFragment
        navController = navHostFragment.navController

        setupActionBarWithNavController(navController)
    }

    override fun onSupportNavigateUp(): Boolean {
        return navController.navigateUp() || super.onSupportNavigateUp()
    }
}
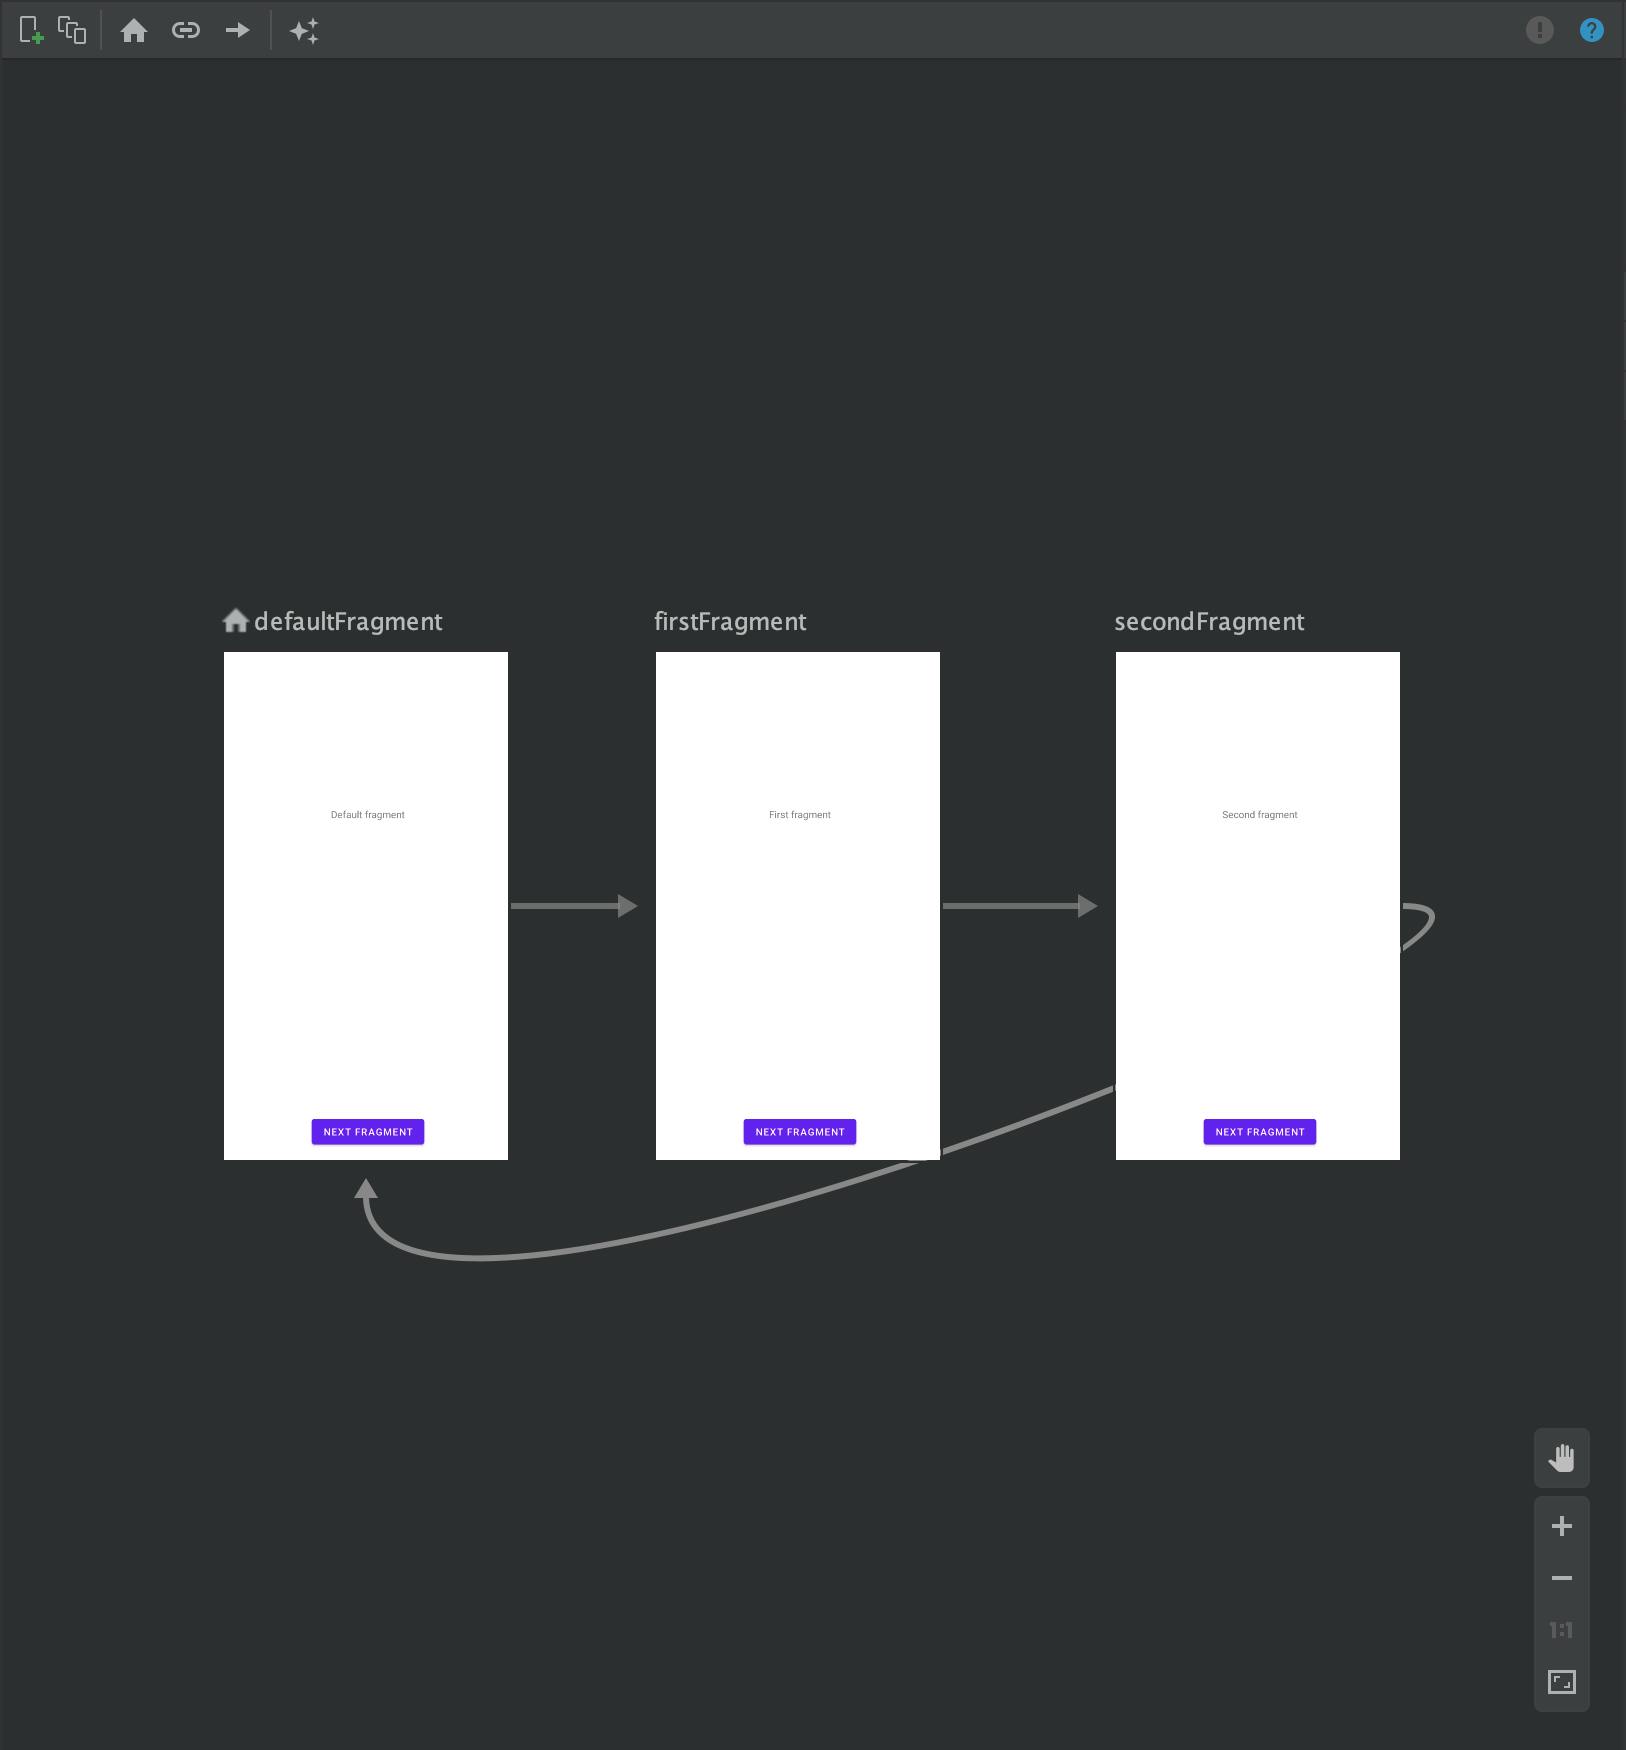
Section 3: Creating a Navigation Graph:
Create a navigation graph by adding a nav_graph.xml file to the res/navigation directory. Define your destinations, actions, and fragments in the visual navigation editor.
<!-- res/navigation/nav_graph.xml -->
<navigation xmlns:android="http://schemas.android.com/apk/res/android"
    xmlns:app="http://schemas.android.com/apk/res-auto"
    xmlns:tools="http://schemas.android.com/tools"
    android:id="@+id/nav_graph"
    app:startDestination="@id/firstFragment">

    <fragment
        android:id="@+id/firstFragment"
        android:name="com.example.FirstFragment"
        android:label="fragment_first"
        tools:layout="@layout/fragment_first" />

    <fragment
        android:id="@+id/secondFragment"
        android:name="com.example.SecondFragment"
        android:label="fragment_second"
        tools:layout="@layout/fragment_second" />

    <!-- Add more fragments and actions as needed -->

</navigation>
Section 4: Navigating Between Destinations:
Navigate between destinations using the NavController:
// Inside a fragment or activity
val action = FirstFragmentDirections.actionFirstFragmentToSecondFragment()
navController.navigate(action)
Section 5: Deep Linking with Kotlin Navigation Component:
Enable deep linking by adding the following to your navigation graph:
<deepLink app:uri="yourapp://host/secondFragment" />
Handle deep links in your MainActivity:
val navController = findNavController(R.id.nav_host_fragment)
val deepLink = findNavController(R.id.nav_host_fragment).createDeepLink()
    .setDestination(R.id.secondFragment)
    .createPendingIntent()

// Set up PendingIntent with deepLink in Notification or other components
Section 6: Handling Up and Back Navigation:
The Up button and Back button behavior is automatically handled by the navigation component. Customize it using the OnBackPressedDispatcher:
override fun onBackPressed() {
    if (!navController.navigateUp()) {
        super.onBackPressed()
    }
}
Section 7: Testing and Debugging Navigation:
Test navigation using the NavController and ensure proper handling of back and up navigation. Use the Navigation Test library for comprehensive testing.
Conclusion:
Navigation Component streamlines the navigation process in Android development, making it more intuitive and developer-friendly. Experiment with it in your projects and share your experiences!